Mirage Mini Split Remote Control Instructions: A Comprehensive Guide
Discover effortless climate control with this detailed guide, unlocking the full potential of your Mirage mini-split system through its intuitive remote functionality.

Understanding Your Mirage Mini Split System
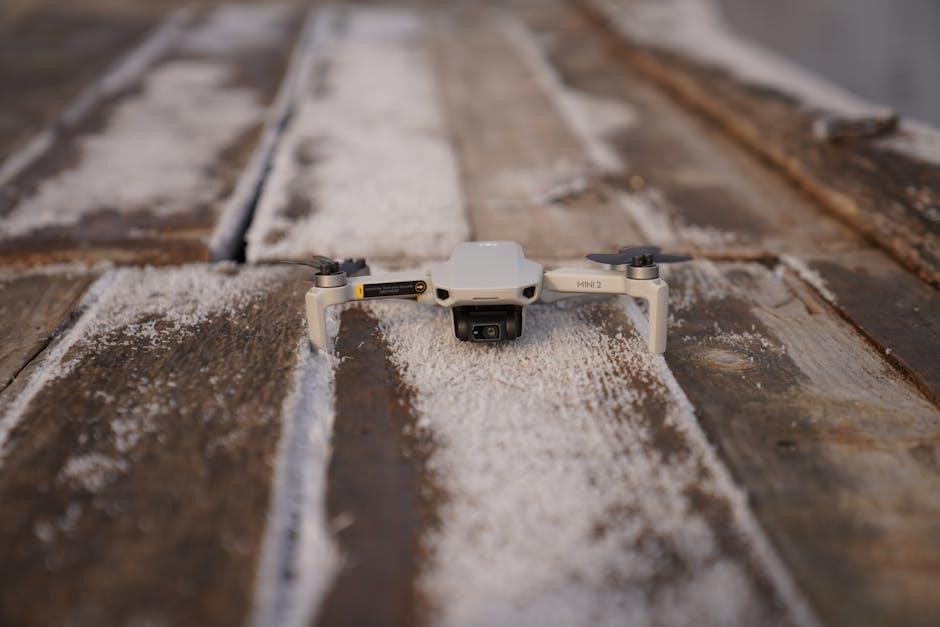
Your Mirage mini-split system delivers efficient heating and cooling, offering zoned comfort and energy savings. Unlike traditional central air, it doesn’t require ductwork, making installation simpler and more flexible. The system comprises an indoor unit and an outdoor compressor, connected by refrigerant lines and electrical wiring.
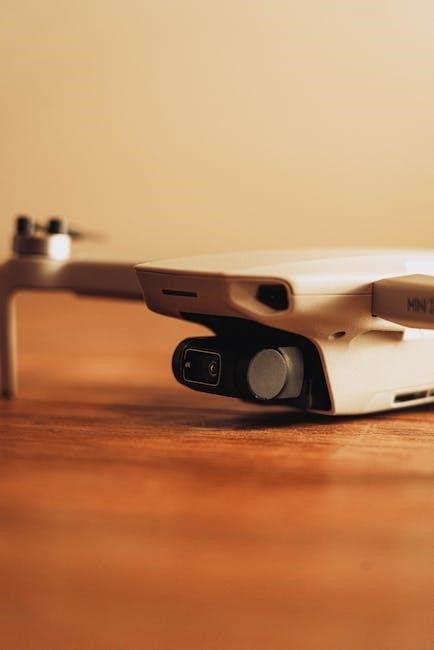
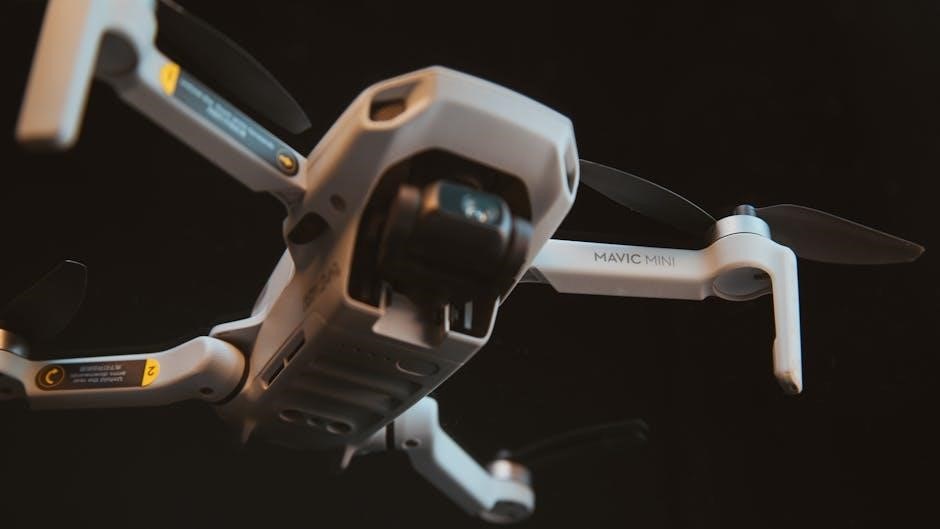
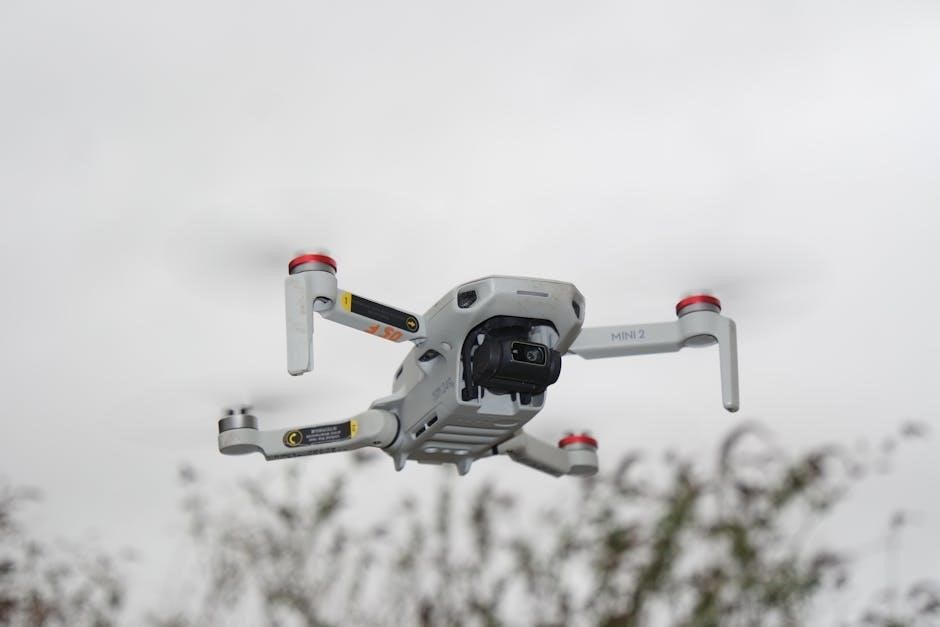
Understanding the core components is crucial for effective operation. The indoor unit distributes conditioned air, while the outdoor unit expels heat or draws it in. The remote control is your primary interface, allowing adjustments to temperature, fan speed, and operating modes. Familiarizing yourself with these elements ensures optimal performance and a comfortable indoor environment. Proper maintenance, as outlined in the official manual, extends the system’s lifespan and maintains efficiency.
Remote Control Overview
The Mirage mini-split remote control is designed for user-friendly operation, providing convenient control over your system’s functions. It typically features an LCD display showing the current settings, including temperature, mode, and fan speed. Key buttons allow you to power the unit on/off, adjust the temperature, select operating modes (Cool, Heat, Auto, Dry, Fan), and control the fan’s velocity.
Additional buttons manage advanced features like timers, sleep mode, and swing/louvre control. The remote utilizes infrared technology to communicate with the indoor unit, requiring a clear line of sight for optimal performance. Understanding the layout and function of each button is essential for maximizing your comfort and efficiently managing your home’s climate. Refer to the official manual for a detailed button guide.
Battery Installation & Replacement
To install batteries, gently slide open the battery cover located on the back of the remote control. Insert AAA batteries, ensuring correct polarity as indicated inside the compartment – typically matching the + and ─ symbols. Once the batteries are securely in place, carefully replace the battery cover until it clicks shut.
For battery replacement, follow the same procedure when the remote stops responding or the LCD display appears dim. Always use new, high-quality AAA batteries for optimal performance. Dispose of used batteries responsibly, following local environmental regulations. Avoid mixing old and new batteries, or different battery types, as this can damage the remote.
Basic Remote Control Functions
Your Mirage mini-split remote offers intuitive control over your indoor climate. The power button initiates or terminates operation. Utilize the ‘Mode’ button to cycle through cooling, heating, auto, dry, and fan-only settings. Temperature adjustment is achieved via the ‘+’ and ‘-’ buttons, allowing precise degree selection.
Fan speed is controlled with a dedicated button, offering options like auto, low, medium, and high. These fundamental functions provide immediate command over your unit’s performance. Familiarizing yourself with these core controls ensures comfortable and efficient operation of your Mirage system, adapting to your specific needs effortlessly.
Powering On/Off the Unit
Initiating operation with your Mirage mini-split is straightforward. Simply press the power button, typically marked with a universal power symbol, on your remote control. The unit will respond by activating its cooling or heating functions, depending on the previously selected mode. To power off, press the same power button again.
A confirmation signal, often an LED indicator on both the remote and the indoor unit, will verify the command. Ensure the remote has a clear line of sight to the indoor unit for reliable communication. This simple action grants immediate control, providing comfort or energy savings as desired.
Mode Selection (Cool, Heat, Auto, Dry, Fan)
Your Mirage mini-split remote offers versatile operation through distinct modes. Press the “Mode” button repeatedly to cycle through options: “Cool” for refreshing air, “Heat” for warming, “Auto” for intelligent temperature regulation, “Dry” to dehumidify, and “Fan” for simple air circulation.
Each selection is visually confirmed on the remote’s LCD display. “Auto” mode automatically switches between heating and cooling to maintain your set temperature. The “Dry” mode is ideal for humid climates, reducing moisture without significant temperature change. Selecting the correct mode optimizes performance and ensures your comfort needs are met efficiently.
Temperature Adjustment
Adjusting the temperature with your Mirage mini-split remote is straightforward. Utilize the “Up” and “Down” arrow buttons to increase or decrease the desired temperature. The current set temperature is prominently displayed on the remote’s LCD screen, providing clear feedback.
Temperature settings typically range from 60°F to 86°F (16°C to 30°C), though this may vary slightly depending on your specific model. Fine-tune the temperature to achieve your ideal comfort level. Remember that significant temperature differences between the setpoint and the room temperature may impact the unit’s efficiency. Gradual adjustments are recommended for optimal performance.
Fan Speed Control
Your Mirage mini-split remote offers multiple fan speed settings to customize airflow. Typically, you’ll find options like “Auto,” “Low,” “Medium,” and “High.” The “Auto” setting automatically adjusts fan speed based on the temperature difference, optimizing comfort and energy efficiency.
Selecting “Low” provides a gentle breeze, ideal for quiet operation and maintaining a consistent temperature. “Medium” offers a balanced airflow, while “High” delivers maximum cooling or heating power. Use the dedicated “Fan Speed” button on your remote to cycle through these options. Experiment to find the setting that best suits your preferences and the room’s needs.
Advanced Remote Control Features
Beyond basic operation, your Mirage mini-split remote boasts advanced features for personalized comfort. The “Timer” function allows you to schedule operation, setting start and stop times for energy savings and convenience. “Sleep Mode” gradually adjusts temperature overnight, ensuring a comfortable sleep environment. Utilize the “Swing” or “Louvre” control to direct airflow, optimizing circulation throughout the room.

Furthermore, the “Auto Restart” function automatically restores your previous settings after a power outage, eliminating the need for manual reconfiguration. These features, accessible through dedicated buttons on your remote, enhance the overall user experience and provide greater control over your indoor climate.
Timer Function – Setting Schedules
The Mirage mini-split’s timer function empowers you to create customized operating schedules, maximizing comfort and energy efficiency. Access the timer settings via the remote control, typically indicated by a clock icon. You can program multiple on/off cycles throughout the day, tailoring operation to your daily routine. First, set the desired start time, then the end time, and repeat for additional cycles as needed.
Ensure the current time on the remote is accurate for precise scheduling. This feature is ideal for pre-cooling or pre-heating your space before you arrive home, or automatically turning off the unit during unoccupied hours, leading to significant energy savings.
Sleep Mode Operation
Mirage mini-split’s Sleep Mode is designed to provide a comfortable and energy-efficient sleeping environment. Activated via a dedicated button on your remote control – often symbolized by a moon icon – this mode gently adjusts the temperature throughout the night. Initially, the unit will maintain the set temperature for a period, then gradually increase (in cooling mode) or decrease (in heating mode) by 1-2°C per hour.
This subtle temperature shift prevents overheating or overcooling while you sleep, promoting better rest; Sleep Mode typically operates for several hours before automatically turning off the unit. It’s a convenient feature for those seeking a peaceful and energy-conscious sleep experience.
Swing/Louvre Control
Mirage mini-split remote controls offer precise control over air direction using the Swing or Louvre function. This feature adjusts the vertical and/or horizontal airflow, ensuring even distribution of cooled or heated air throughout the room. A dedicated “Swing” button on the remote typically cycles through various settings: automatic swing, vertical swing only, horizontal swing only, and fixed position.
Automatic swing moves the louvers up and down and side to side, while fixed position allows you to manually set the desired airflow direction. Utilizing this function optimizes comfort by preventing concentrated airflow and eliminating cold or warm spots. Experiment with different settings to find the ideal configuration for your space.
Auto Restart Functionality
Mirage mini-split systems are equipped with an Auto Restart function, a valuable feature designed to automatically restore your previously used settings after a power outage. This eliminates the need to manually reconfigure your unit each time power is interrupted, ensuring immediate comfort upon restoration of electricity. The remote control doesn’t directly control this function; it’s typically enabled by default within the unit itself.
To confirm Auto Restart is active, consult your Mirage mini-split’s main user manual. This feature provides convenience and prevents unwanted temperature fluctuations. It’s a standard safety and convenience feature, contributing to a hassle-free user experience.
Troubleshooting Common Remote Control Issues
Encountering issues with your Mirage mini-split remote? Several common problems can arise. If the remote isn’t responding, first check the batteries, ensuring they are correctly installed and have sufficient charge. Obstructions between the remote and the unit can also interfere with the signal; remove any obstacles. An incorrect temperature display often indicates a need for battery replacement or a potential sensor issue within the unit itself.
If the unit isn’t following remote commands, try resetting the remote (consult your manual for specific instructions). If problems persist, consider a remote replacement. Regularly cleaning the remote’s infrared emitter can also improve performance.
Remote Not Responding
If your Mirage mini-split remote control isn’t responding, begin with the simplest solutions. First, verify that fresh AAA batteries are correctly installed, paying attention to polarity. A weak battery signal is the most frequent cause. Next, ensure a clear line of sight between the remote and the indoor unit; obstructions can block the infrared signal.
Try moving closer to the unit. If the issue continues, gently clean the remote’s infrared emitter with a soft, dry cloth. A dirty emitter can hinder signal transmission. Finally, attempt resetting the remote following the procedures outlined in your owner’s manual.
Incorrect Temperature Display
An inaccurate temperature reading on your Mirage mini-split remote control can stem from several factors. Initially, confirm the remote is set to the correct temperature scale – Celsius or Fahrenheit – via the settings menu. Ensure the indoor unit’s temperature sensor isn’t directly exposed to sunlight or heat sources, as this can cause inflated readings.
If the discrepancy persists, try resetting both the remote and the indoor unit by briefly disconnecting power. A calibration issue might be present; consult the official Mirage manual for specific calibration instructions, if available. If the problem continues after these steps, professional service may be required to assess the sensor’s functionality.
Unit Not Following Remote Commands
If your Mirage mini-split isn’t responding to remote commands, begin by verifying direct line-of-sight between the remote and the indoor unit’s receiver. Obstructions can interfere with the signal. Next, ensure fresh batteries are correctly installed in the remote; weak batteries are a common culprit.
Try resetting the system by briefly powering off both the indoor and outdoor units. If the issue persists, check for any error codes displayed on the indoor unit, referencing the Mirage manual for their meaning. A potential pairing issue might exist; consult the manual for instructions on re-pairing the remote to the unit. If problems continue, professional assistance is recommended.
Identifying Your Mirage Remote Control Model

Accurately identifying your Mirage remote control model is crucial for finding compatible replacements or accessing specific instructions. Locate the model number typically printed on the back of the remote itself, often near the battery compartment. This number is a unique identifier for your specific remote version.
Alternatively, consult your Mirage mini-split system’s owner’s manual; it frequently lists the compatible remote control model. Knowing the indoor unit’s model number can also help narrow down the remote options. Precise identification ensures you obtain the correct replacement, maintaining full functionality and avoiding compatibility issues.
Compatibility with Different Mirage Mini Split Models
Mirage mini-split remote controls aren’t universally compatible across all models; certain remotes function with specific unit series. Generally, remotes designed for the IAEH and OAEH series are interchangeable within those ranges, but compatibility diminishes when crossing series. Always verify compatibility before purchasing a replacement.
Checking the owner’s manual for your indoor unit is the most reliable method. Many Mirage websites offer compatibility charts, allowing you to cross-reference your unit’s model number with a list of compatible remotes. Using an incorrect remote may result in limited functionality or no response from your mini-split system.
Finding the Right Replacement Remote
Locating a suitable replacement remote for your Mirage mini-split requires careful consideration. Start by identifying your unit’s model number, typically found on the indoor unit itself or in the original documentation. Once you have this, explore online retailers specializing in HVAC parts, ensuring they specifically list Mirage compatibility.
Alternatively, contact a local HVAC supplier or Mirage’s customer support directly. Providing your model number will enable them to pinpoint the correct remote. Be cautious of generic remotes claiming universal compatibility, as they often lack full functionality. Prioritize a remote specifically designed for Mirage systems for optimal performance.
Programming a Replacement Remote
Programming a new remote typically involves a simple code-matching process. Begin by ensuring your Mirage mini-split unit is powered on. Consult the replacement remote’s manual for the specific programming instructions, as procedures vary between models. Generally, this involves entering a specific code provided in the manual, often while pointing the remote at the indoor unit.
Some remotes utilize an auto-search function, cycling through codes until the unit responds. If the initial code doesn’t work, try alternative codes listed for Mirage. Successful programming is indicated by the unit acknowledging the remote’s signals, such as changing temperature or fan speed.
Understanding the LCD Display
The LCD display on your Mirage remote provides crucial information about your mini-split system’s operation. Key indicators include the set temperature, operating mode (Cool, Heat, Auto, Dry, Fan), fan speed, and timer status. Various icons represent functions like sleep mode, swing/louvre control, and auto-restart.
Error codes displayed signal potential issues with the unit, requiring troubleshooting. A flashing code necessitates consulting the official Mirage manual for specific interpretations and recommended actions. Familiarizing yourself with these icons and codes empowers you to quickly diagnose and address operational concerns, ensuring optimal performance and comfort.
Display Icons and Their Meanings
The Mirage remote’s LCD utilizes several icons to communicate system status. A snowflake signifies cooling mode, while a flame indicates heating. “AUTO” means the unit automatically adjusts. A fan icon displays fan-only operation, and a droplet represents dehumidification (Dry mode). A clock icon shows the timer is active.
The swing icon indicates louvre movement, and a fan speed icon displays the current fan setting (Low, Medium, High, Auto). A sleep icon signifies sleep mode is engaged. Error codes, displayed as numbers, indicate specific malfunctions – consult the manual for details. Understanding these icons allows for quick interpretation of your mini-split’s operational state.
Error Codes and Troubleshooting
When the Mirage mini-split encounters an issue, the remote’s LCD displays an error code. “E1” often indicates a sensor error, requiring professional inspection. “E2” suggests a fan motor malfunction, while “E3” points to potential refrigerant leakage – immediate service is crucial. “E4” can signify a defrosting error, and “E5” may relate to communication problems between the indoor and outdoor units.
Before calling for service, try resetting the unit by powering it off and on. Ensure filters are clean and airflow isn’t obstructed. If the error persists, consult the official Mirage manual or contact qualified HVAC technicians for diagnosis and repair. Ignoring error codes can lead to further damage.
Maintaining Your Remote Control
Proper remote control maintenance ensures longevity and reliable operation. Regularly clean the remote with a soft, dry cloth to remove dust and fingerprints. Avoid using abrasive cleaners or solvents, as these can damage the surface and buttons. For stubborn grime, lightly dampen the cloth with water, ensuring no liquid enters the remote.
When not in use for extended periods, remove the batteries to prevent corrosion and potential leakage. Store the remote in a cool, dry place, away from direct sunlight and extreme temperatures. Avoid dropping or subjecting the remote to impact, as this can damage internal components.
Cleaning Instructions
To maintain optimal performance, regularly clean your Mirage mini-split remote control. Begin by removing the batteries to prevent accidental operation during cleaning. Use a soft, dry microfiber cloth to wipe down the entire surface, removing dust, fingerprints, and smudges. For more persistent dirt, lightly dampen the cloth with water – never spray liquid directly onto the remote.
Avoid harsh chemicals, abrasive cleaners, or solvents, as these can damage the plastic casing and button labels. A mild soap solution can be used sparingly on the cloth for tougher stains, followed by a wipe with a clean, damp cloth to remove any residue. Ensure the remote is completely dry before reinserting the batteries.
Storage Recommendations
Proper storage extends the life of your Mirage mini-split remote control. When not in use for extended periods, such as during the off-season, remove the batteries to prevent corrosion and potential damage. Store the remote in a cool, dry place, away from direct sunlight and extreme temperatures. Avoid locations with high humidity, as moisture can affect the internal components.
A protective pouch or case is recommended to shield the remote from dust and accidental impacts. Do not store the remote with other items that could scratch or damage its surface. Keep it in an easily accessible location for convenient use when needed, ensuring it’s readily available when you require climate control adjustments.
Safety Precautions
Always handle your Mirage mini-split remote control with care. Avoid dropping or subjecting it to strong impacts, as this can damage the internal circuitry. Do not disassemble the remote, as this will void any warranty and may pose a safety hazard. Keep the remote away from water and other liquids to prevent short circuits and malfunctions.
Only use the specified battery type (typically AAA) and ensure correct polarity during installation. Do not mix old and new batteries, or different types of batteries. If the remote is not functioning correctly, do not attempt to repair it yourself; contact qualified service personnel. Keep the remote out of reach of small children to prevent accidental ingestion of batteries.
Remote Control Specifications
The Mirage mini-split remote control is a wireless, LCD-equipped device designed for convenient operation. It typically operates on two AAA batteries, providing power for adjusting settings from a distance. The control utilizes infrared technology for communication with the indoor unit, with a typical transmission range of approximately 26 feet.
Dimensions vary slightly by model, but generally fall around 28-31 inches in width, 11 inches in height, and 7 inches in depth. The remote features numerous buttons for power, mode selection, temperature adjustment, fan speed, timer settings, and swing control. It supports Auto Restart functionality and displays error codes for troubleshooting. The display utilizes clear icons for easy understanding of the current operating status.
Downloading the Official Mirage Manual

Accessing the official Mirage manual is crucial for comprehensive understanding of your mini-split system and remote control. While a direct download link isn’t universally provided, the Mirage website often hosts manuals for specific models. Begin by navigating to the Mirage Cooling website and locating the “Support” or “Downloads” section.
Enter your unit’s model number (found on the indoor unit or original packaging) into the search bar to filter results. Look for a PDF document labeled “Owner’s Manual” or “Installation & Operation Manual.” This document will contain detailed instructions on remote functionality, troubleshooting, safety precautions, and warranty information. If unavailable online, contact Mirage customer support for assistance.
Where to Find Additional Support
Beyond the official manual, several avenues offer support for your Mirage mini-split remote control. The Mirage Cooling website provides a “Contact Us” page with options for phone, email, and online chat support. HVAC forums and online communities dedicated to mini-split systems can be valuable resources, allowing you to connect with other users and experienced technicians.
YouTube hosts numerous tutorial videos demonstrating remote control functions and troubleshooting steps. Local HVAC professionals specializing in Mirage systems can offer in-person assistance for complex issues. Remember to have your model number readily available when contacting support for efficient assistance.

Warranty Information for Your Remote
The Mirage mini-split remote control typically carries a limited warranty, often bundled with the overall unit’s warranty. Standard coverage usually lasts for one year from the date of original purchase, protecting against manufacturing defects in materials and workmanship. This warranty doesn’t cover damage resulting from misuse, accidents, or unauthorized repairs.
To make a warranty claim, retain your proof of purchase and contact Mirage Cooling’s customer support. They may request photos or the return of the defective remote for assessment. Extended warranties might be available through retailers or third-party providers; Always review the specific warranty terms for your model.